One of the most gratifying DIY projects you can do is to paint your house walls and give them a fresh and new look. This you can do and deliver a neat, clean, and perfect looking room if you follow and do what professional painters do. Luckily, if you are not a professional painter, we will guide you to true perfection in this article.
Choose the Best Tools
If you want to paint like a professional, then you must be willing to invest in premium and high-quality tools. Moreover, you have to endeavor to maintain these tools well to be able to use them over and over again. Some of the tools you need to invest in include:
- Brushes that don’t shed bristles.
- 9-inch roller frame
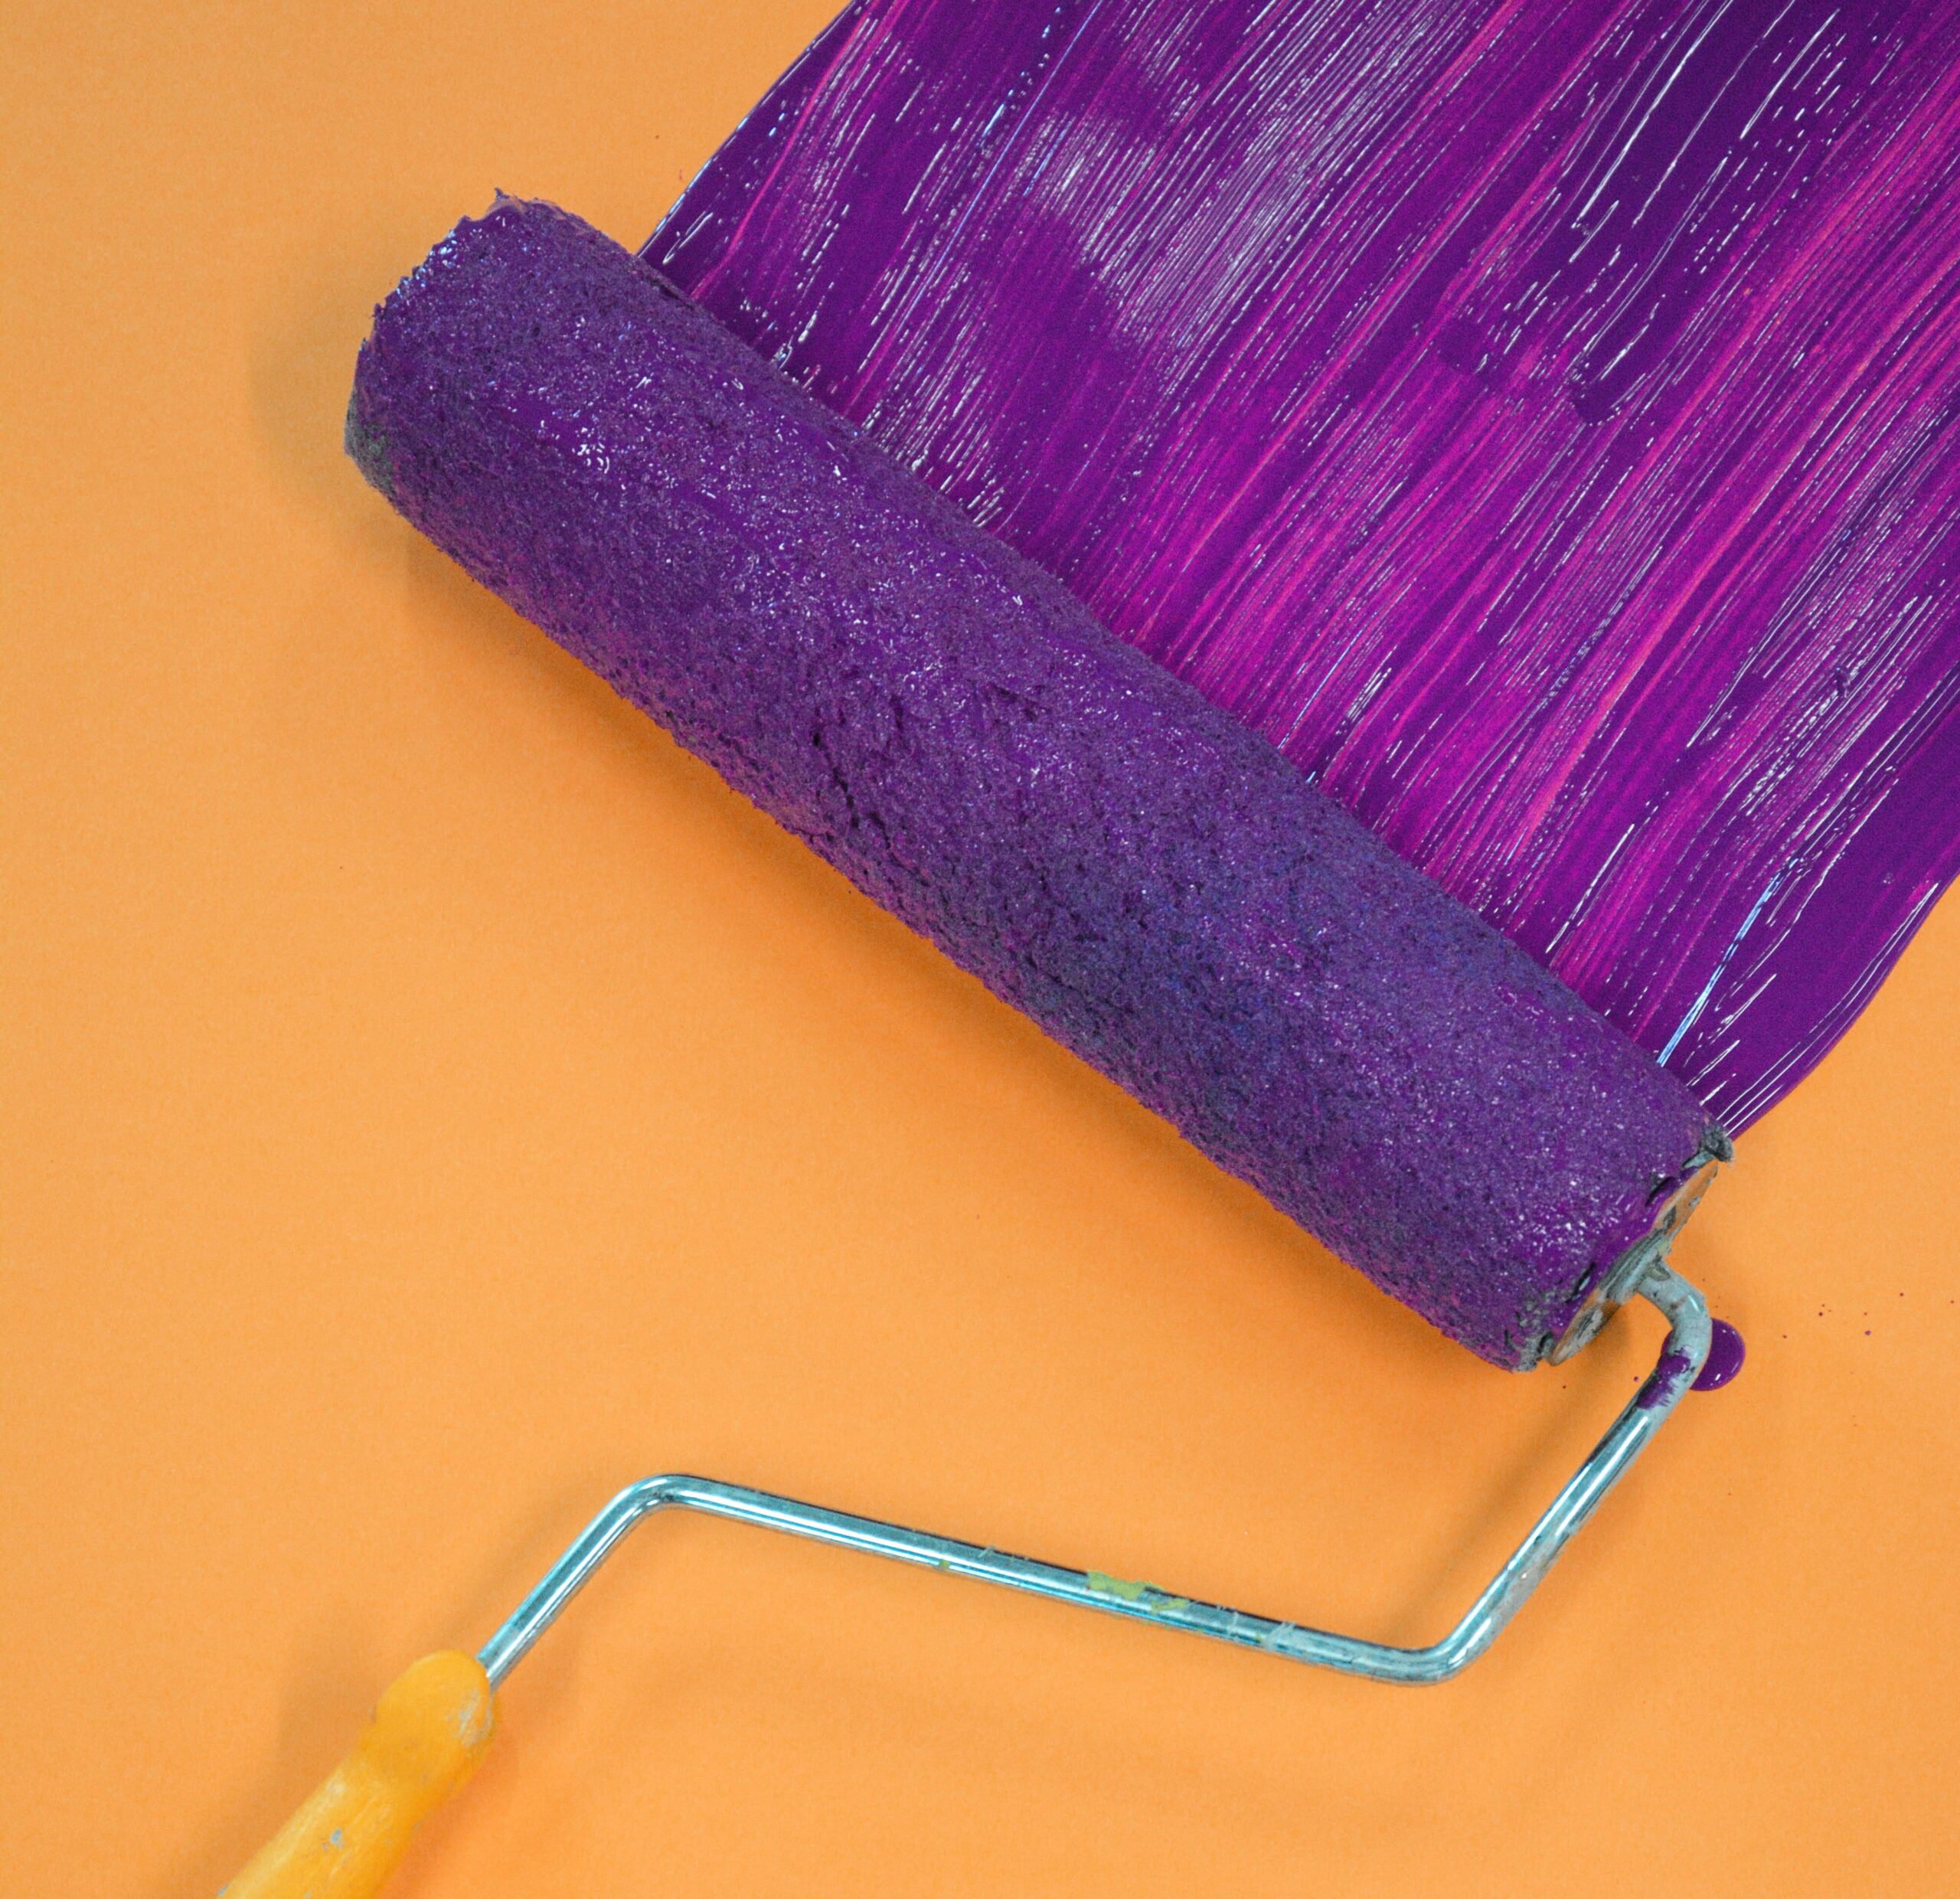
- A roller cover with a thick nap; to transfer paint to your wall consistently.
- Extension pole that has a locking mechanism for painting high places.
- 5-gallon paint bucket.
- A roller screen for draining back excess paint.
Start with the prepping
When prepping your walls for paint, you need to first begin by clearing the area around the walls. This involves removing items from around the walls that may block you, or which can be damaged by paint spills and splatter. If there are heavy items that you can’t move like furniture, cover them with a plastic sheet and tape it down using painter’s tape. Secondly, you will need to take down any decorations on the walls including artworks, clocks, shelves. It is also important at this step to also take down picture hangers, hooks, and nails before you can proceed to the next step.
Gather your tools and materials
Before beginning the next process in painting your walls, ensure that the following equipment and materials are at your disposal;
- A screwdriver
- A paint scraper
- Sponges
- Putty knife
- Bucket
- 9inch roller frame
- 9inch roller cover
- Angled paintbrush
- Roller extension pole
- Bucket screen
- 5-gallon bucket
- Sandwich bags
- Plastic sheeting
- Painters tape
- Fine-grit sandpaper
- Drop cloths
- Interior latex paint
- Primer
- TSP
- Wall spackle
Once you have everything ready, you can now move on to the next phase in painting your walls.
1. Remove outlet covers and switch plates
Before you can do anything else, begin by turning off the electricity for the outlets and switches in the room that you are painting. Then with a screwdriver, remove all the outlet covers and switches. Put each cover and plate with its screws in a sandwich bag. Put away the sandwich bags in a safe place. Then place a strip of painter’s tape over the switch openings and outlets so that you don’t paint over them accidentally.
How do you brighten dirty covers and plates?
If the covers are dirty o looking dingy, you can place them in warm soapy water while you paint. This also gives you a good opportunity to replace broken or cracked covers and plates.
2. Cover the floor, furniture, and other unmovable items
You can use plastic sheeting or drop cloths to protect your floor and furniture from paint. Ensure that the sheeting and clothes are securely taped using painter’s tape.
3. Mask the Trim
Use painter’s tape on the edges of the window and door trim to protect them from paint. In addition, you may have to remove the baseboards or run painter’s tape on the top edge of the baseboards to ensure they are protected from paint.
4. Patch the walls
Examine the walls for scratches, cracks, peeling, gouges, or any large holes for patching. Patching helps create a professional and smooth paint finish.
For minor imperfections and shallow scratches, use fine-grit sandpaper to smooth them. Scrape any peeling paint and smooth scraped paint with sandpaper. The larger blemishes may need to be spackled before you can sand them.
5. Clean the walls
TSP is a readily available, inexpensive but effective detergent capable of removing dirt and surface oils from your walls.
For a perfect and clean finish, you need to make any stains visible on the walls disappear before you begin painting. Wash the walls using tri-sodium phosphate (TSP).
To use TSP, fill a clean bucket with water and pour in the manufacturer-specified amount of TSP before mixing thoroughly. Use a sponge with the TSP solution to clean the walls. When you are done, use clean water and a fresh sponge to clean the walls.
6. Prime the walls
The purpose of priming the walls is to cover stubborn stains and add a subtle texture enabling the paint to adhere to walls easily. The most ideal primers for interior walls are oil-based. However, if your walls show no blemish, consider using self-priming paint to save you time and costs.
When can you use a tinted primer?
Use tinted primer when planning to paint a light color on a dark wall. You can also use a tinted primer if you are painting over a wall using a similar color. The upside of using a tinted prime is that it lets you see any missed spots when you are painting your finishing coat.
7. Cut-in the Edges
Cutting-in is a professional term used to refer to painting right up to the edge of a surface that will not be painted. This is quite helpful as it fills areas where a paint roller won’t reach. This method is less wasteful, expedient, and cleaner than when using painter’s tape.
To cut in, dip an angled brush lightly into the top of the paint. Then gently paint along the wall close to the surface that will not be painted such as a door trim. Paint slowly with a rag in hand to clean any messes quickly.
8. Prepare the roller with paint
At this moment, you are ready to start working on the paint. Dip the roller inside your paint bucket but for not long to avoid major drips that make rolling out difficult. Roll up and down several times until you are sure that the roller cover is fully coated in paint.
Paint in W-shape
Starting from one corner of the wall, make a downward pass, then up, down, and up again to create a “W” across the wall. Fill and overlap with other W across the wall working quickly enough that the paint edges you are rolling over are wet.
It is important to roll or brush from a wet edge especially if you are using glossy paint for a smooth professional finish.
- Fill in and finish
Continue painting using the W method taking a few moments to examine your work. Working in bright light helps you easily catch missing spots. Turn the roller vertically or horizontally at the edges to fill the space with paint and smooth it out.
How do you avoid roll splatter?
With no obstacle on your way, it is easy to avoid paint splatter. Furthermore, we recommend that you stay far away from areas that are not to be painted. This avoids any accidental splatter from the roller to the surface. It is also important to have a rag handy in case of any accidental splatter which you can clean up as quickly as possible before it dries up.
11. Cleanup
As we mentioned earlier, professional equipment will only work perfectly if maintained well. Wash your brushes and rollers before the paint dries upon them. Clear the room of all your painting supplies and allow them to dry before connecting the outlets, switches, and electricity.